COMPANIES

No Data Found

NEWS

No Data Found
Advertisement
How to install macOS Ventura on your Mac in 10 steps

How to install macOS Ventura on your Mac in 10 steps

Only the developer beta of the macOS Ventura is out so keep that in mind.

Business Today Desk
Business Today Desk
  • Updated Jun 10, 2022 12:41 PM IST
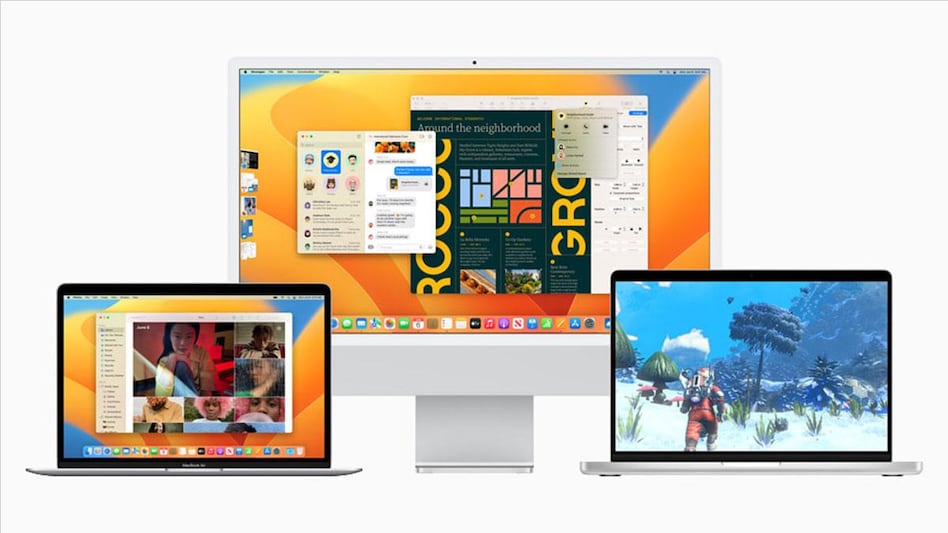
How to install macOS Ventura on your Mac in 10 steps (Photo: Apple)

Apple announced the macOS 13, or the macOS Ventura, at WWDC 2022 and the new software comes with a host of new features like Stage Manager, Continuity Camera, new System Settings, upgrades to Safari, Mail, Messages, etc. 

Now, only the developer beta has been rolled out. The public beta is coming in July and the software will officially roll out only in September/October this year. If you are not willing to wait till that long and want to start testing it right now, you can download the developer beta on your Mac. 

Advertisement

Since it is a developer beta, there might be some little glitches, so we don’t recommend you get this on your primary MacBook Pro or Air or even the iMac. If you have a spare MacBook then use that. 

Performance issues and bugs are common with early builds and reports mention that issues have been spotted with notifications and FaceTime already by some of the early testers. 

However, if you are still keen on trying it out, here’s what you need to do. For starters, make sure you have 12GB of free space on your MacBook. Then, follow the next steps:

  1. Enroll as an Apple Developer from Apple Developer site on your iPhone. It costs $99/year. This will also allow you to download and test other developer betas of iOS 16, watchOS 9, etc.  
  2. Then, make a fresh backup of your Mac in case you want to go back to the previous build at any point.  
  3. Head over to the Apple Developer website next from the Mac.  Click on ‘Account’ from the top right corner and sign in.  
  4. From the bottom left choose ‘Downloads’. If you don’t see it, click on the two-line icon on the top left corner.
  5. Ensure that the Operating Systems tab is selected near the top-right corner.  
  6. Scroll down and click on ‘Install Profile’ next to the macOS 13 beta and then click on ‘Allow’.  
  7. Next, go to the Downloads folder and you should be able to see the macOS beta Access Utility file.  
  8. Click on that to mount the utility disk image and then double-click the Access Utility.pkg to install macOS beta
  9. After this, the System Preferences and then the Software Update window should launch automatically with the macOS 13 beta appearing on it. Click on ‘Upgrade Now’ to download the update.  
  10. Once the download is complete follow the prompts to finish the beta installation.

Also Read: WWDC 2022: Apple announces new features to upcoming macOS Ventura; check details here

Advertisement

Also Read: WWDC 2022: Apple’s new M2 chip and what you need to know about it

For Unparalleled coverage of India's Businesses and Economy – Subscribe to Business Today Magazine

Published on: Jun 10, 2022 12:41 PM IST
Post a comment